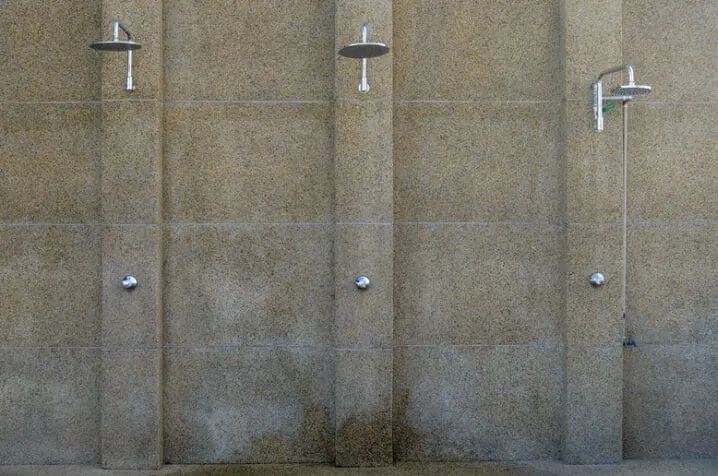
How to Build a Curbless Shower on Concrete (Without Losing Your Mind)
Hey there, fellow DIY warriors and design enthusiasts! Let’s talk about curbless showers—those sleek, modern marvels that make bathrooms look like they belong in a spa catalog. But here’s the kicker: building one on a concrete slab isn’t exactly a walk in the park. Don’t worry, though. We’ve tackled more of these projects than we can count (shoutout to our Denver clients who trust Verified Builders for their luxury home renovations), and today, we’re spilling the secrets.
Why Go Curbless? Because Tripping Over Ledges is So 1995
Let’s start with the obvious: curbless showers are gorgeous. They’re accessible, future-proof, and give your bathroom that “I hired a bathroom renovation contractor who actually knows their stuff” vibe. But here’s the thing—concrete slabs don’t care about your aesthetic dreams. They’re stubborn, unyielding, and require a bit of finesse.
Pro Tip: If you’re in Denver and thinking, “I need a remodeling company near me that won’t ghost me halfway through,” we’re just a call away. Ahem.
Step 1: Planning Like a Pro (Because Wingin’ It Ends in Tears)
Before you grab a sledgehammer, let’s get real. A Curbless Shower on concrete needs precise sloping, waterproofing, and drainage. Miss one detail, and you’ll have a indoor wading pool. Here’s what you actually need:
- A Solid Layout: Map out your shower area. Pro tip: Keep it close to existing plumbing unless you’re itching to jackhammer your entire basement. (Looking at you, basement remodel contractors.)
- Slope Calculation: Aim for a 1/4-inch drop per foot toward the drain. Math haters, rejoice—this is the only equation you’ll need.
- Drain Drama: Linear drains are your BFF here. They’re slim, stylish, and hide under the tile like a ninja.
FYI: If this feels overwhelming, even general contractors like us triple-check these details. No shame in calling for backup.
Step 2: Demolition Day (aka Controlled Chaos)
Time to channel your inner Hulk—safely. Break up the concrete where the shower will go. But hold up:
- Mark Your Territory: Use chalk lines to outline the shower area. Stray outside the lines, and you’ll regret it when patching.
- Tools You’ll Need:
- Jackhammer (rent one—it’s cheaper than therapy)
- Safety goggles (because concrete shrapnel isn’t a vibe)
- Dust masks (unless you enjoy sneezing out grey confetti)
Hot Take: If you’re also tackling a whole house remodeling project, maybe leave this part to the home addition contractors. Multitasking is overrated.
Step 3: Waterproofing—The Make-or-Break Moment
Here’s where DIYers often faceplant. Waterproofing isn’t glamorous, but neither is mold. Do it right:
- Install a Schluter System or Pan: These create a seamless waterproof barrier. We’re partial to Schluter—it’s like the Tesla of shower systems.
- Seal Every. Single. Gap.: Use waterproofing membrane on walls and floors. Miss a spot, and you’ll host a mushroom farm in your grout.
- Test for Leaks: Flood the floor with water and watch the drain like a hawk. If it pools, fix the slope now.
Story Time: We once rescued a homeowner who tried waterproofing with… duct tape. Let’s just say it didn’t end well.
Step 4: Tile Like You Mean It
Now for the fun part! Choose tiles that scream “I’ve got taste” but won’t break your budget:
- Large-Format Tiles: Fewer grout lines = less cleaning. You’re welcome.
- Textured Surfaces: Avoid slip-and-slide situations. Safety first, Instagram second.
- Grout Matters: Use epoxy grout. It’s stain-resistant and won’t crumble like your resolve after a week of renovations.
Rhetorical Question: Why do tiles cost more than my car payment? ¯_(ツ)_/¯
Step 5: The Final Touches (Where Magic Happens)
You’re almost there! Add these finishing details:
- Glass Enclosures: Frameless glass keeps it sleek. Just don’t forget to clean it—streaks are not a design feature.
- Heated Floors: Because stepping onto cold tiles at 6 a.m. is cruel.
- Accessories: Niche shelves, towel hooks… pretend you’re on HGTV.
Shameless Plug: If you’re in Denver and thinking, “I need a bathroom remodeling team with reviews that don’t suck,” we’ve got you.
Common curbless shower Questions (Answered Without Judgement)
-
“Can I DIY This If I’ve Never Held a Hammer?”
Sure—if you enjoy tutorials, swearing, and redoing work. For everyone else, hire a bathroom renovation contractor. -
“Will This Lower My Home’s Value?”
Quite the opposite. Curbless showers are a top request for luxury home renovations. Buyers love ’em. -
“How Long Does This Take?”
With pros? 1–2 weeks. DIY? Let’s just say… stock up on caffeine.
The Verified Builders Advantage
Look, we get it. Custom remodels are stressful. But here’s why Denver trusts us:
- No Corners Cut: We treat your home like it’s ours.
- Transparent Pricing: No “gotcha” fees. Pinky promise.
- Basement to Attic Expertise: Whether it’s a basement remodel or a whole house overhaul, we’ve got the skills.
Wrapping Up: Your Spa-Like Oasis Awaits
Building a Curbless Shower on concrete isn’t for the faint of heart, but man, is it worth it. Whether you DIY or call in the cavalry (👋), you’ll end up with a bathroom that’s equal parts function and flex.
Final Thought: If you’re Googling “home renovation contractor near me” at 2 a.m., just hit pause and call Verified Builders. We’ll handle the heavy lifting—you handle the champagne toast. Cheers! 🥂